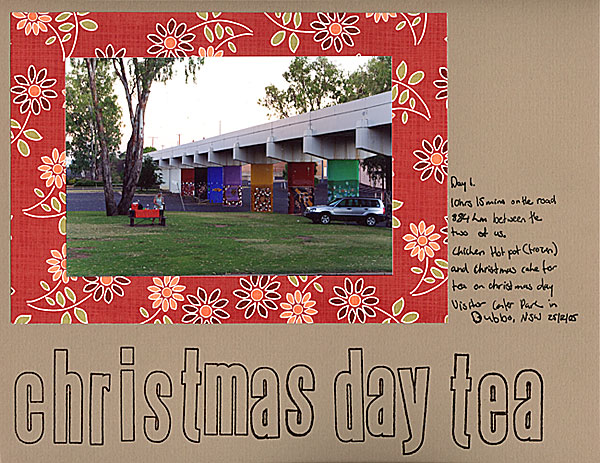
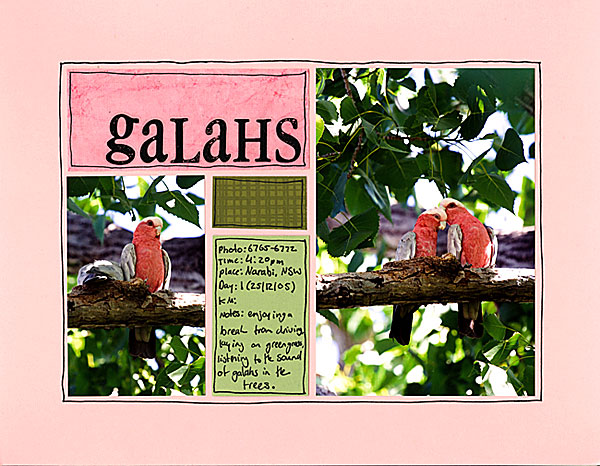
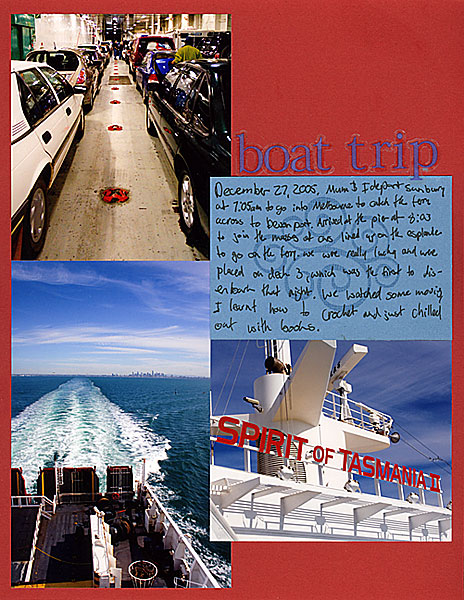
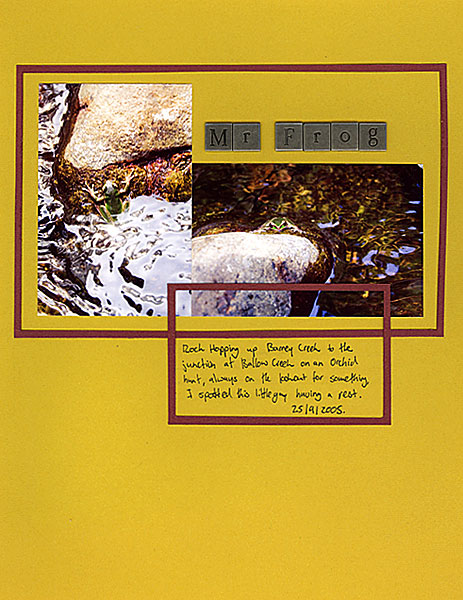
Four new layouts from the last day or two and two from before we went away, as always click on the thumbnail to be taken to it’s page with it’s notes and larger image 🙂

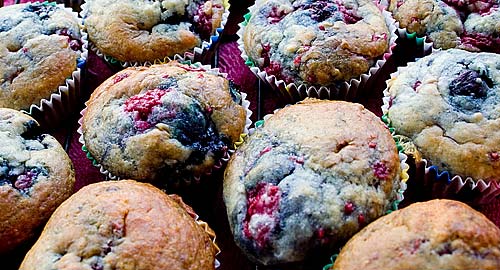
Berry Sour Cream Patty Cakes
Some time back in November I guess, I picked up some frozen Blueberries and Raspberries to make Berry Ice-Cream from Celebrate issue of the Donna Hay magazine (just swirling frozen berries into softened ice-cream and then re-freezing in a pudding cloth).
Then the other day at work I picked up some sour cream from the reduced to clear section, having seen somewhere in the back of mind sour cream muffins.
A google search yesterday gave me these recipes Blueberry Cream Muffins, Sour Cream Blueberry Muffins and Blueberry Sour Cream Muffins, which I used for the basis of my recipe as well as drawing on a Baking Sheet blog post from the other week called Bakery Style Muffins.
Berry Sour Cream Patty Cakes
Ingredients
2 & 1/2 cups plain flour
2 tsp Baking Powder
2 tsp Baking Soda
pinch of salt
1/2 cup white sugar
1 egg
1/2 butter (melted)
dash of Vanilla essence
200ml sour cream
dollops of Milk and Buttermilk if needed for achieving consistency
2 cups or so of berries (I used Blueberries and Raspberries)Method
Preheat oven to 160°C and place patty or muffin papers into patty pan or muffin pans. Combine dry ingredients in a bowl, in a separate bowl combine the egg, sour cream, vanilla and melted butter. Make a well in the dry ingredients bowl and pour in the sour cream mixture and mix together, if mixture is not wet enough add dollops of milk and or butter milk till it is gooey enough to spoon into patty pans. Stir in berries, be sure to do this well so that the berries are evenly distributed through the mixture. Spoon mixture into patty pans so that the mixture is just about at the top of the pan. Cook in oven for 15 minutes or so until skewer comes out clean (muffins will need longer to cook than patty cakes). Makes 40 patty cakes.
Now for some notes.
- Since this recipe makes quite a few patty cakes be sure to either freeze them in small batches or store in the fridge to prevent mould growing in them (cakes etc with fruit especially berries are quite prone to mould if stored at room temp, so eat quick or store in the fridge/freezer.
- These will be quite airy patty cakes due to the amount of baking powder and baking soda used if you don’t like airy cakes, halve the baking powder and soda amounts.
- Enjoy with a nice glass of milk 🙂
In other news:
- On my hook at the moment is this Crochet Cupcake Pincushion.
- I want one of these – Flame-worked All Glass Crochet Hooks in ruby or opal please (Mum, ideal 21st birthday gift, you have 232 days to purchase one).
- Mum is just about finished her crocheted bag.
- This arvo Mum and I went through her old wool to see what I could use to create with and found some knitted goodies which will be fun to felt.
Lastly, this coming Thursday, January 26th is Australia Day so Be Australian, Eat More Lamb (you have to click on that link, though if you aren’t Australian you probably won’t get half the stuff said but still click on it).
most of my loot
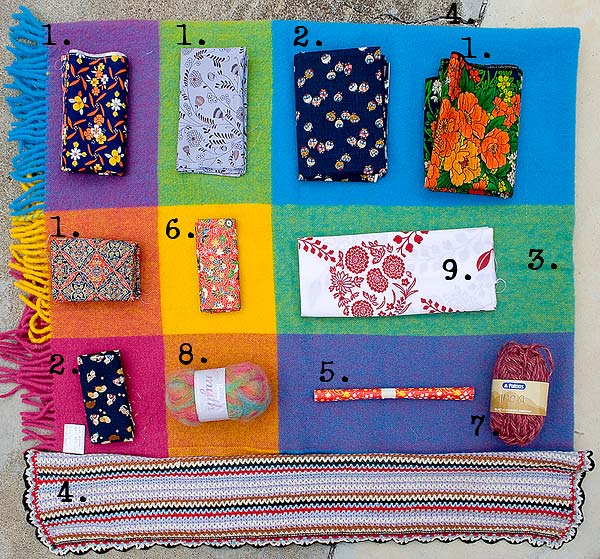
1. 1970’s and earlier Wool Kimono Fabrics from a must see store in Tasmania called Wafu Works at Kinsgton Beach (20mins south of Hobart). It is harf to believe these are wool, they are so light 🙂
2. Modern Japanese Quilting Cottons
3. Ultra Funky and Bright Wollen throw/snugle/picnic rug from the Waverly Woolen Mills outlet store in Launceston
4. Knitted blanket from the Glen Orchy Tip Shop/Recyling Centre – Perfect to felt
5. Little roll of Japanese wrapping paper from the 50’s or 60’s
6. Modern Japanese quilting cotton FQ picked up from the Salamanca Markets
7. Patons Alpaca Yarn – for a beanie of my very own
8. Panda Myth Mohair Blend, an utterly gorgeous colourway and weight which was reduced to clear at $2 was $8-10ish, I have… 14 rolls of the stuff to make a cardigan
9. Vintage Kimono Cotton, with the most gorgeous print on it 🙂
Other Loots
10. A bottle of South Country Cyder
11. The new Interweave Knits Crochet magazine
12. A copy of Yarns, a brand new Australain mainly knitting magazine but it does have a nice smattering of Crochet in 🙂
I think that is about all I picked up along the way, well other than all the gorgeous cherries that we were gorging on 🙂
cro, cro, cro, crochet
As a kid when I remember sitting at the table after tea with a ball of number 10 crochet cotton in a purple I think and just making a very, very, very long chain.
Fast forward ohh ten years and I have started to actually crochet. I had started playing with different hooks and whatever cotton, yarn, wool that I could find round home a month or so ago but not really with any luck as Mum had told me to try to figure it all out myself.
Fast forward again to getting ready for the trip, I picked up some crochet books from the library, packed up the hooks and yarns etc into a workbasket and said I am going to be able to crochet by the end of this trip.
So whilst on the ferry across the Bass Strait, I sat down with the Crocheting for Dummies Book, a hook and some number 10 thread and started practicing, of course Mum couldn’t her hands off it and helped me getting started and showed me tips etc etc.
Since then I have done a lot of my own experimenting, figuring out different stitches based on how others are constructed, making fillet crochet etc, etc. Just playing with things to see what I could discover.
About ohh five days ago, I decided I was now up to following a pattern to see what I create, so I made a free-form basket from a quite hip book called Hip to Crochet and I am nearing the end of my second project from that book which is a drawstring bag, which I had the idea this morning that the basic idea of a crochet drawstring bag could be easily adapted to be a rock-climbing chalk bag for those climbers in my family 🙂
Having lots of fun and crocheting everywhere, in bed, at cafes, walking down the road, in the car and walking through busy street markets either with a ball of yarn in my pocket or in my handbag. This is of course resulting in some very cool photos which Mum is taking for the Helen’s Extreme Crochet 🙂 similar to the Extreme Ironing
I also had to go into spotlight today to get some of the yarn I am using for the bag and not only walked out with the yarn I was after but some balls of this gorgeous mohair and some alpaca as well and Mum knew that as soon as I got into it she would get back into crochet and knitting so she of course picked up some balls of yarns at the same time :):)
Till some time 🙂
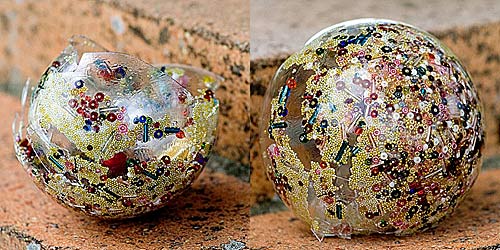
The ornament robbed of life before she lived
Such a tragic story this tale is, one I tell with hint of sadness in my voice of a time when the light danced freely on the back of this ornament.
It started a bit more than a moon ago, when I was sitting at my desk painting glass baubles for Christmas, that I had the sudden idea to fill one with beads, it would look so pretty I reasoned, especially with the lights twinkling around it. I pulled out the bead box and some glue. I started on my quest coating the inside of the bauble with glue and then pouring assorted beads into the bauble and rolling it round to distribute the beads.
However in all my grand visions, the beads and glue didn’t agree with me as I had wished them to, the beads didn’t want to stay where I wanted them to, the glue took many passes of the sun before it dried and even though the entire inside was not coated with beads, it did look very pretty with a mass of beads in the bottom and then drifts of beads on the slides, with the glue dried to the glass in sections with no beads looking like Jack Frost had visited the glass after a cold night.
I thought she was so much stronger than she actually was, a knock against my camera when I was lugging stuff out to photograph her one afternoon sent her shattering to the ground, I remember that moment like it was yesterday in a drawn out slow motion scene in my mind. I yelled for Mum, she rushed out thinking I had done something to my camera but alas not it just the sound of a girl who had accidentally murdered her most beautiful handmade ornament. Reminding myself of the times long before us when some of the only photographs people had taken of them was once they were dead, I decided to give her the same treatment.
So I present you the most gorgeous ornament that was robbed of the chance to live her purpose in life, to adorn our tree.
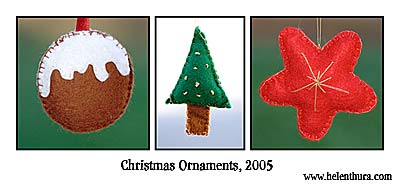
Christmas Ornaments Part 1
Well Christmas is fast approaching and in exaclty one weeks time, Mum and I will be drawing close to Dubbo on our 2 day drive to Melbourne.
These are three styles of ornaments I have made so far, little plum puddings (which I need to find some tiny holly to add to the top), Christmas Trees and Stars inspired by Jenny at All Sorts.
You can click on the image to see the ornaments larger. The Christmas Tree is by far the easiest to make, just 2 roughly cut triangles for the tree and a thin folded strip of felt for the trunk. The tree which is shown here I have done little bullion stitches, which Mum says look like little gold grubs :), on another one I have done quite primitive cross stitches. The Plum Pudding probably takes the longest time due to the cutting and stitching on of the icing. I did not like cutting out the stars but they do look so cute especially as I reduced the pattern that Jenny provides so some of them measuere 2″ across instead of the usual 4″, so cute 🙂
That is ornament installment part 1, I have a couple more styles that I am working on currently and most of my present shopping is done 🙂

